Installation
This guide explains how to install the tracker on a new Virtual Dedicated Server (VDS) or Virtual Private Server (VPS).
The tracker is an open source CPA tracker. You run it on your own server, so campaign data, traffic patterns, and profitable flows stay inside your infrastructure. In free Software as a Service (SaaS) trackers, campaign and traffic data is processed by a third-party platform. With an in-house tracker installation, the source code is public and auditable, and your production data does not leave your server.
The installation uses the tracker host provisioner. The provisioner installs system packages, configures the application stack, starts the tracker services, and prints the dashboard sign-in details.
Before You Start
Prepare the following items before running the installer:
| Requirement | Description |
|---|---|
| Server | Fresh VDS/VPS with Ubuntu 24.04 LTS x64 |
| Access | Root login to the server over Secure Shell (SSH) |
| IP2Location token | Download token for the IP2Location LITE database |
| Email address | Email address for Let's Encrypt certificate registration |
A low-cost VDS is enough for a small installation. Many providers offer suitable servers from about $3-4 per month.
Dashboard domains and campaign domains are configured after installation in separate guides.
IP2Location Token Setup
The tracker uses the IP2Location LITE database to support country-based flow rules. These rules are important for traffic routing because they allow you to send visitors from different countries to different campaign flows.
IP2Location provides a free tier that is enough for the tracker. You only need a download token. The installer uses this token to download the database and configure automated refresh.
-
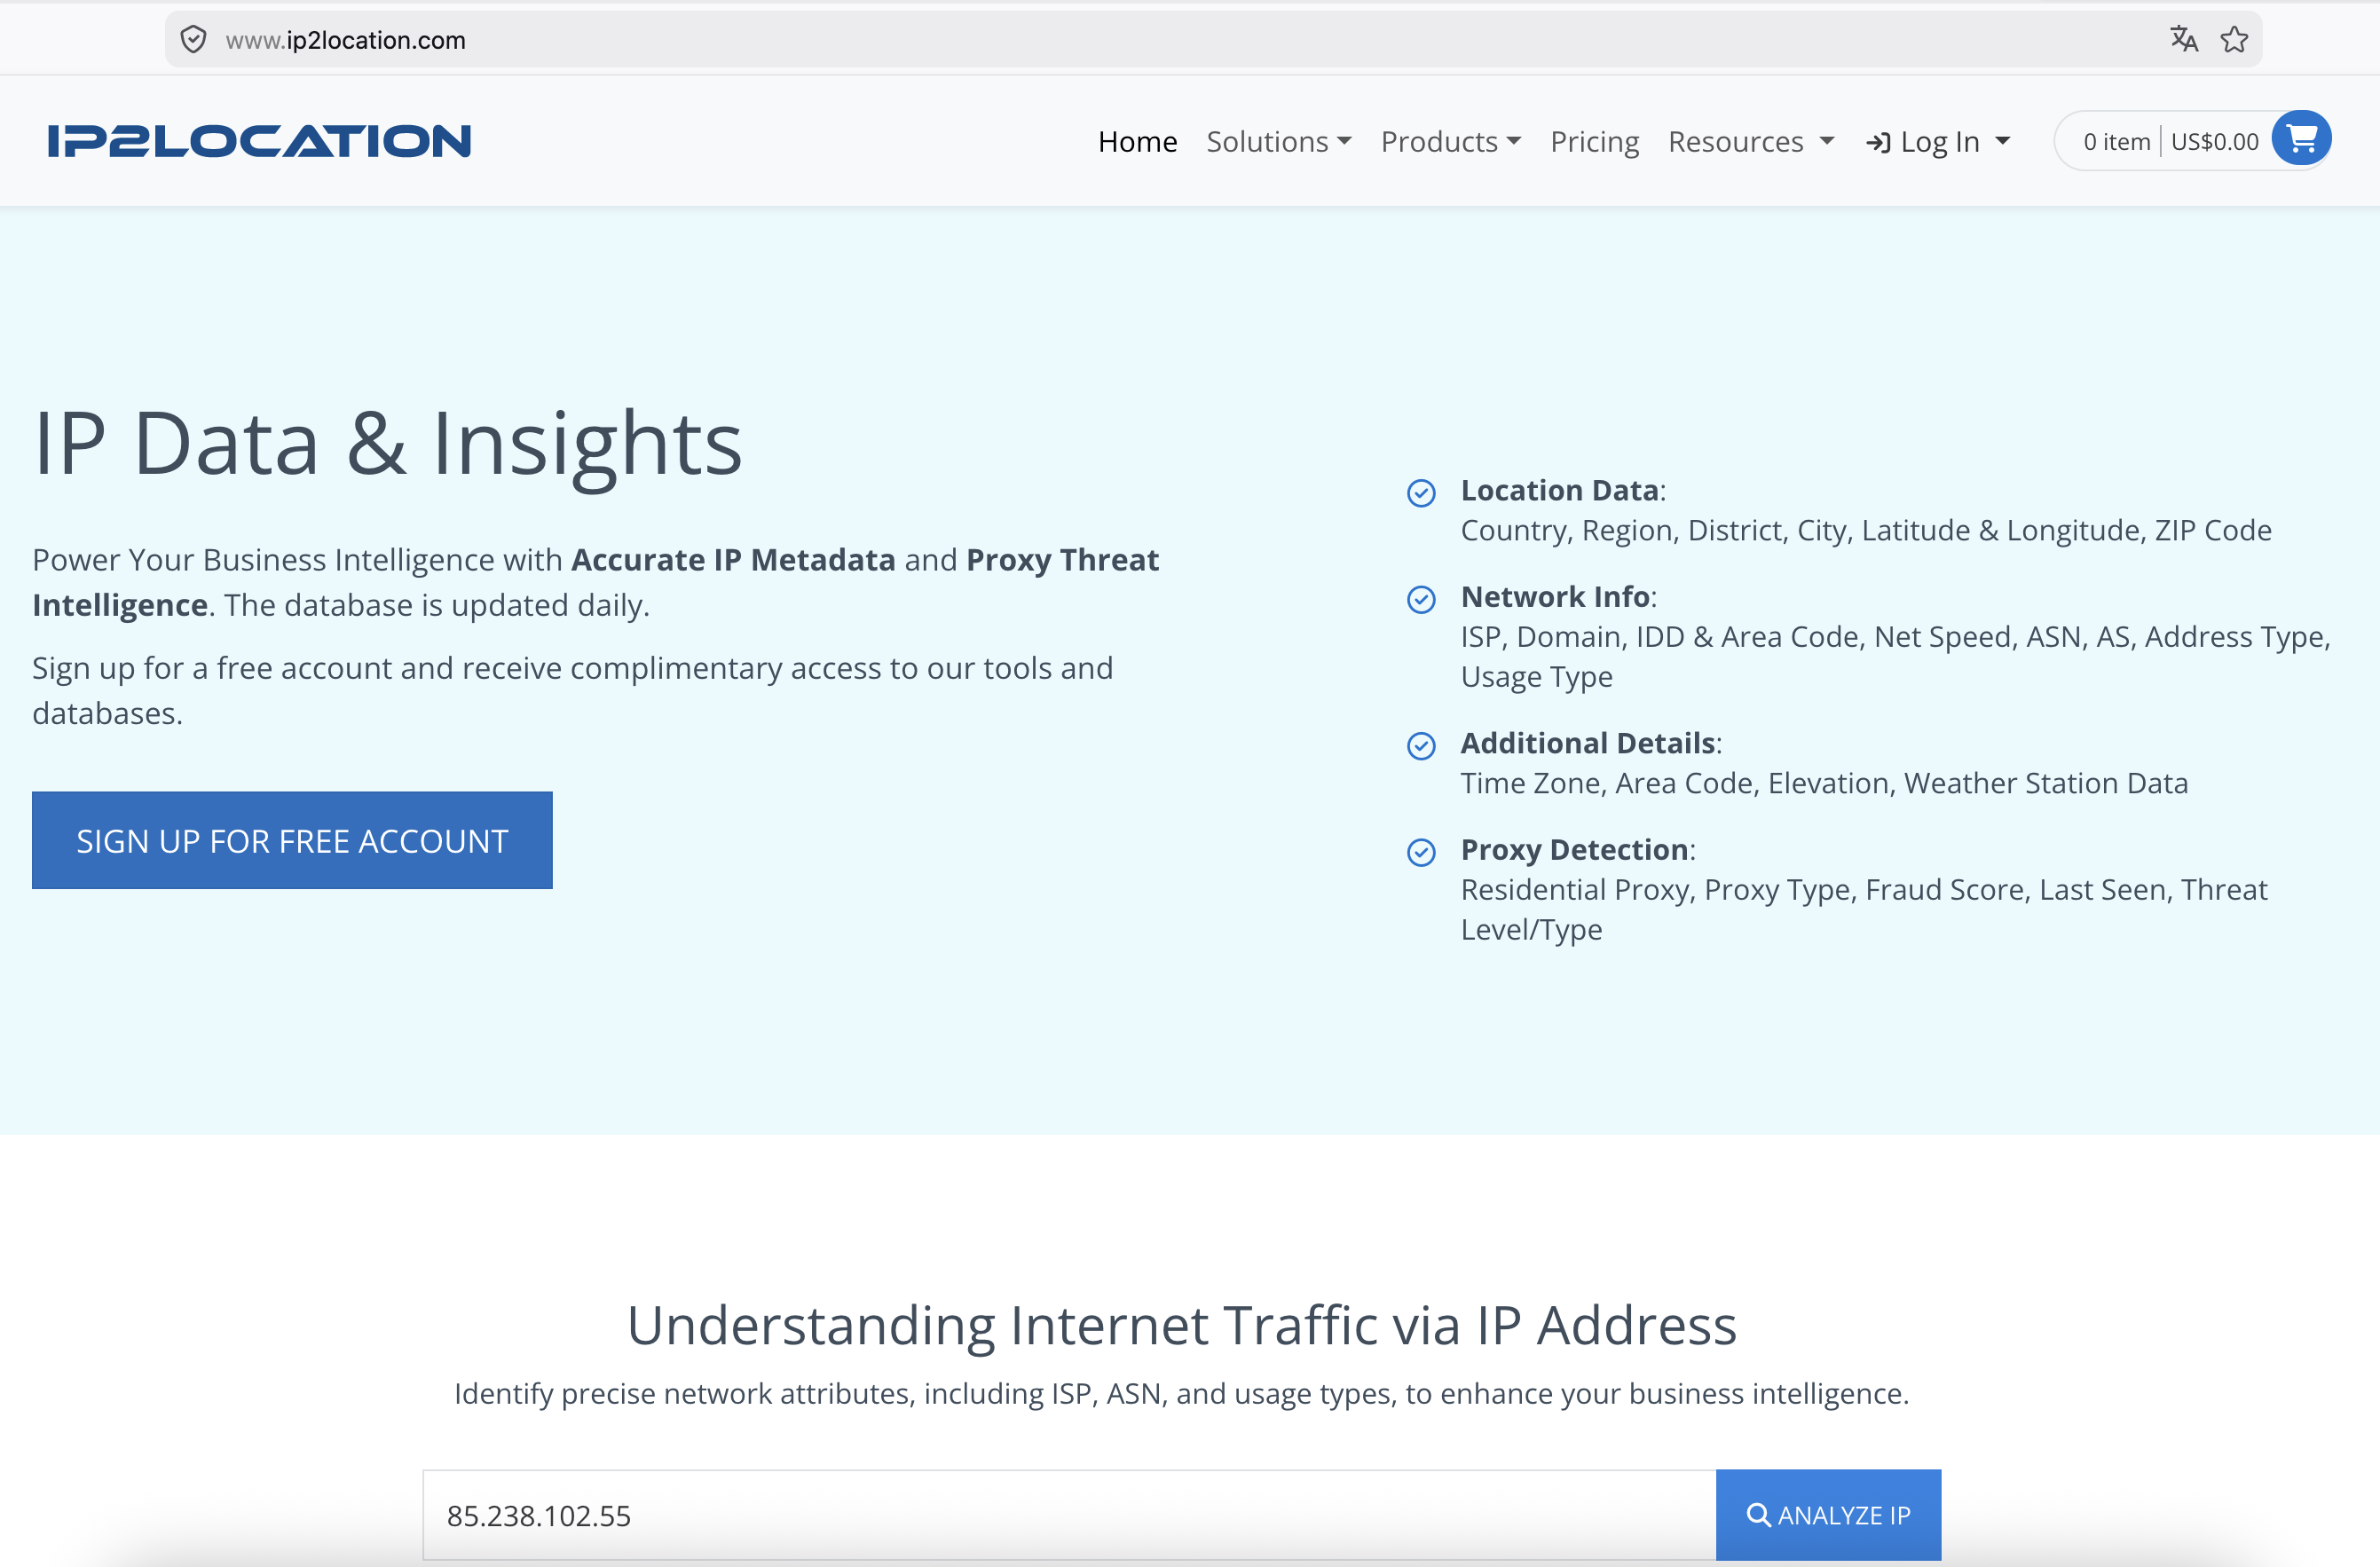
Open the IP2Location website and go to the LITE database section.
-
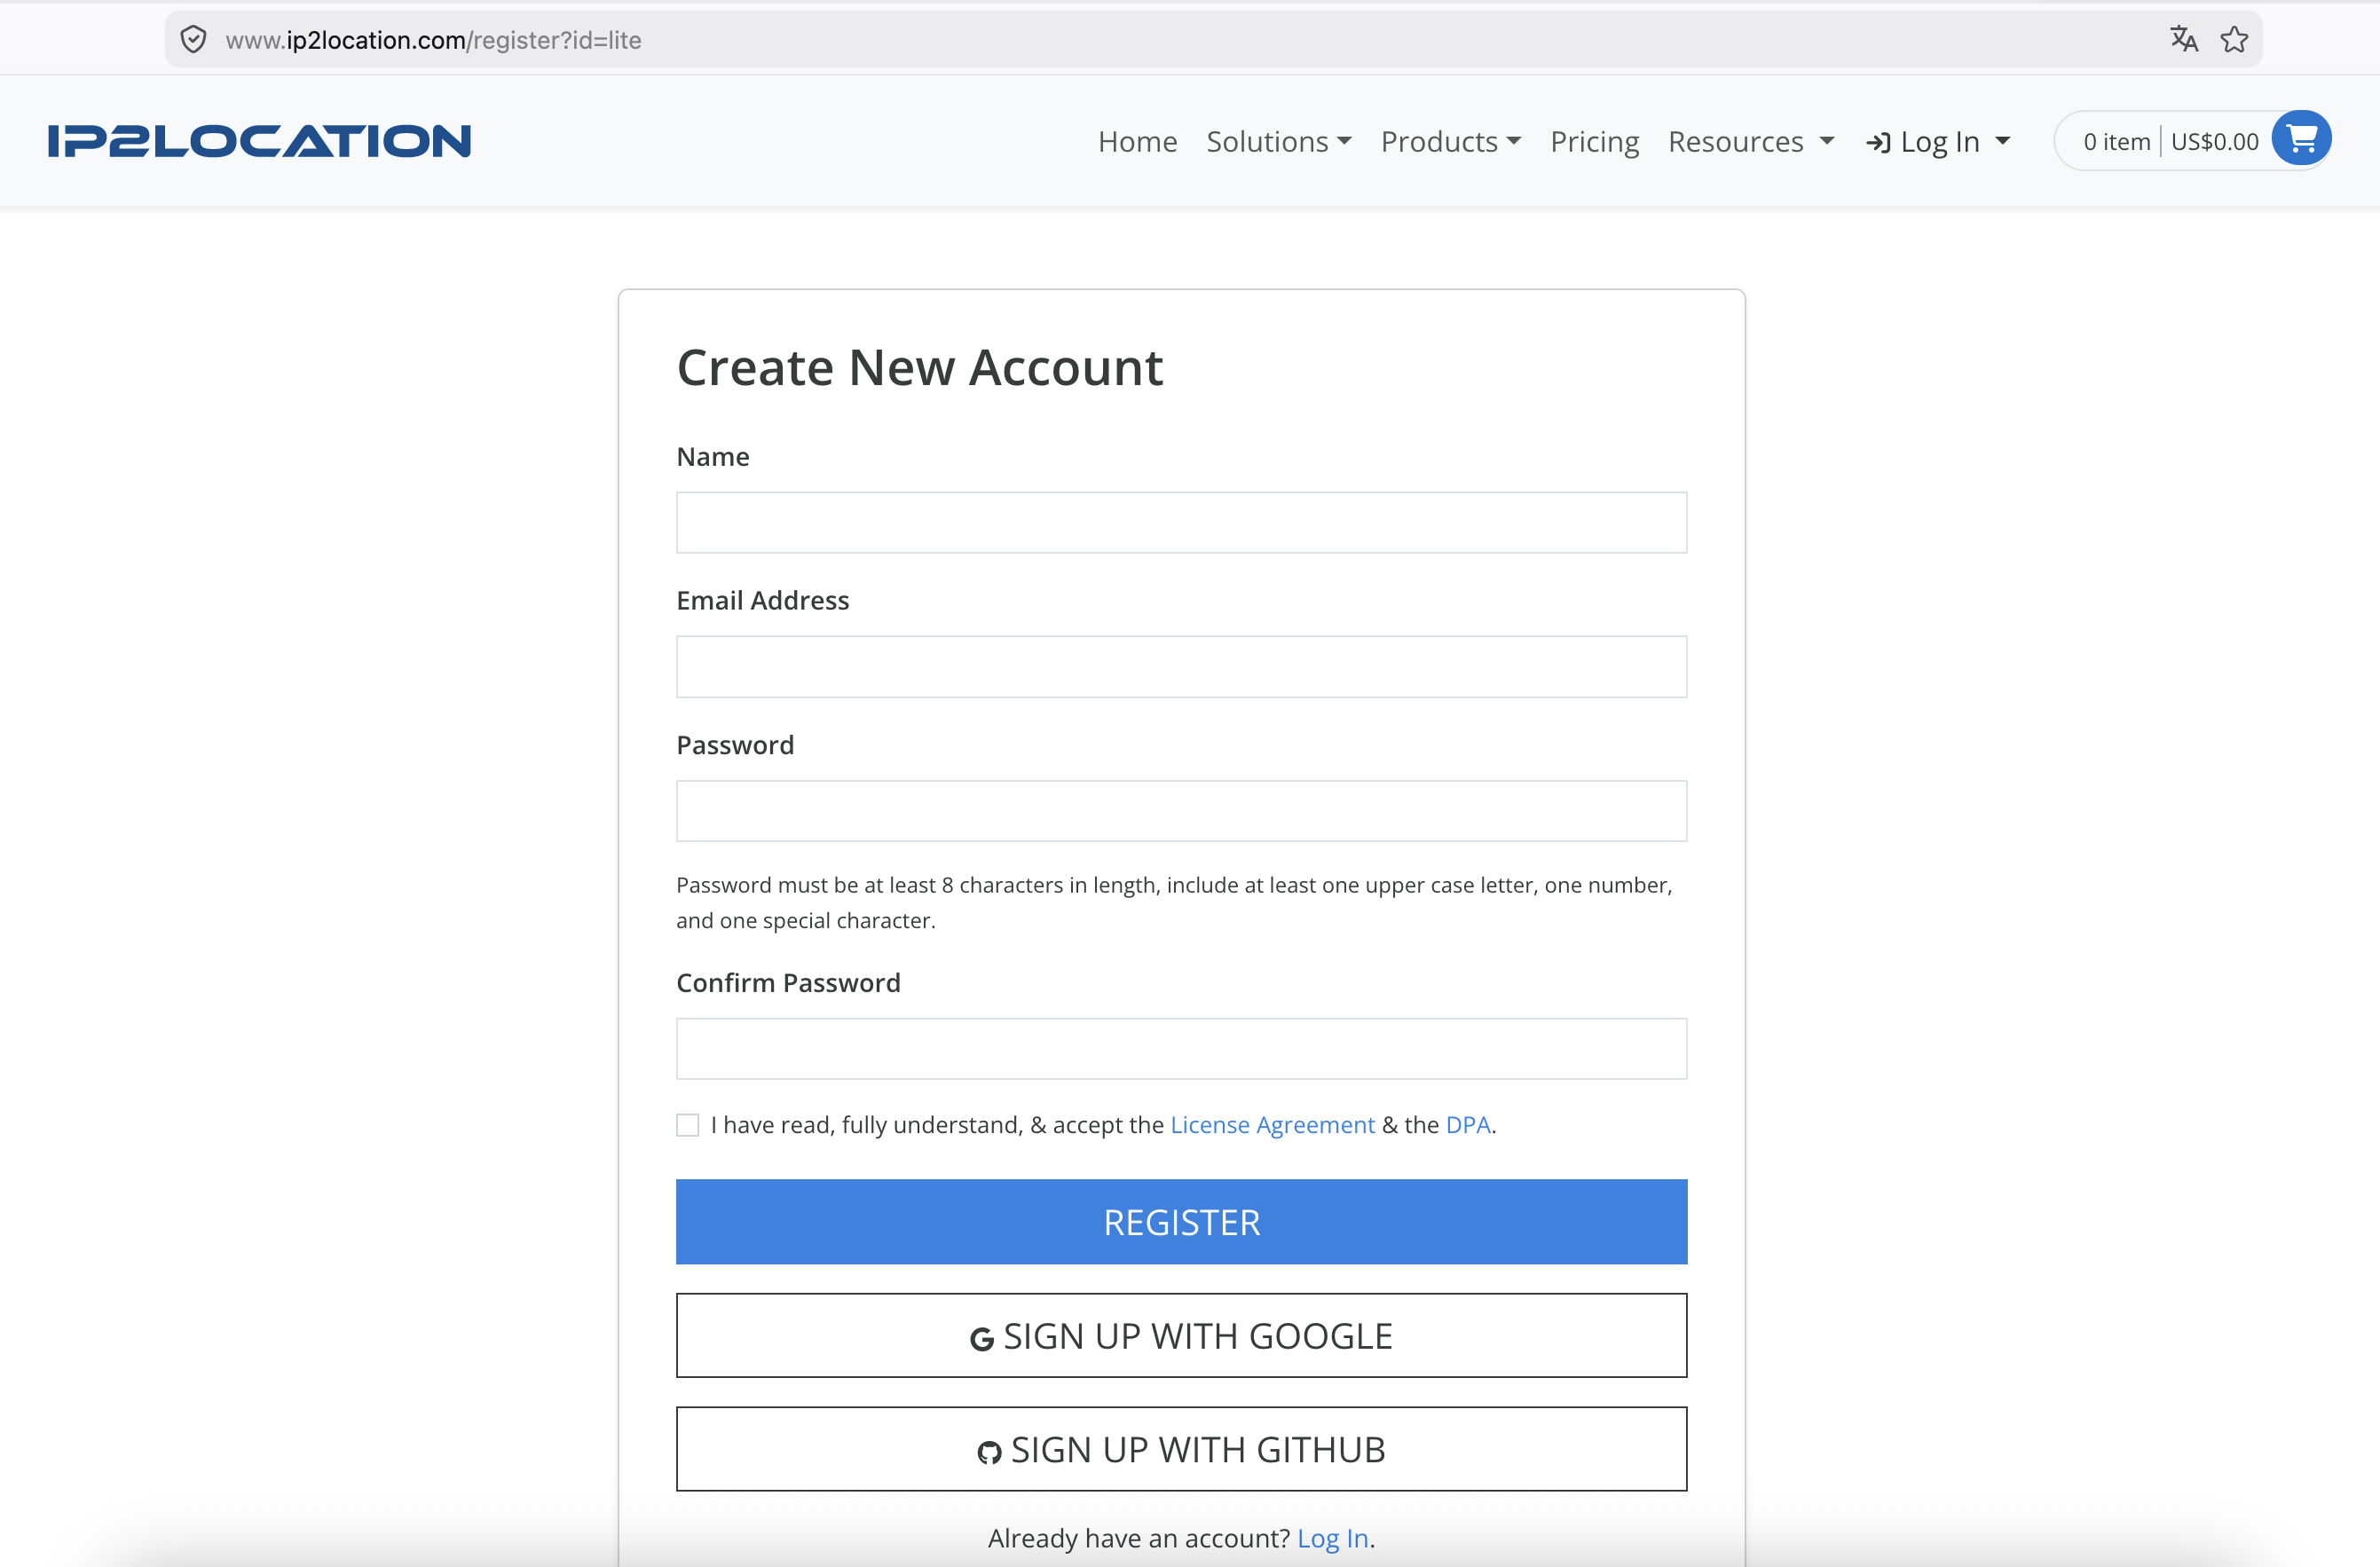
Create an IP2Location account or sign in to an existing account.
-
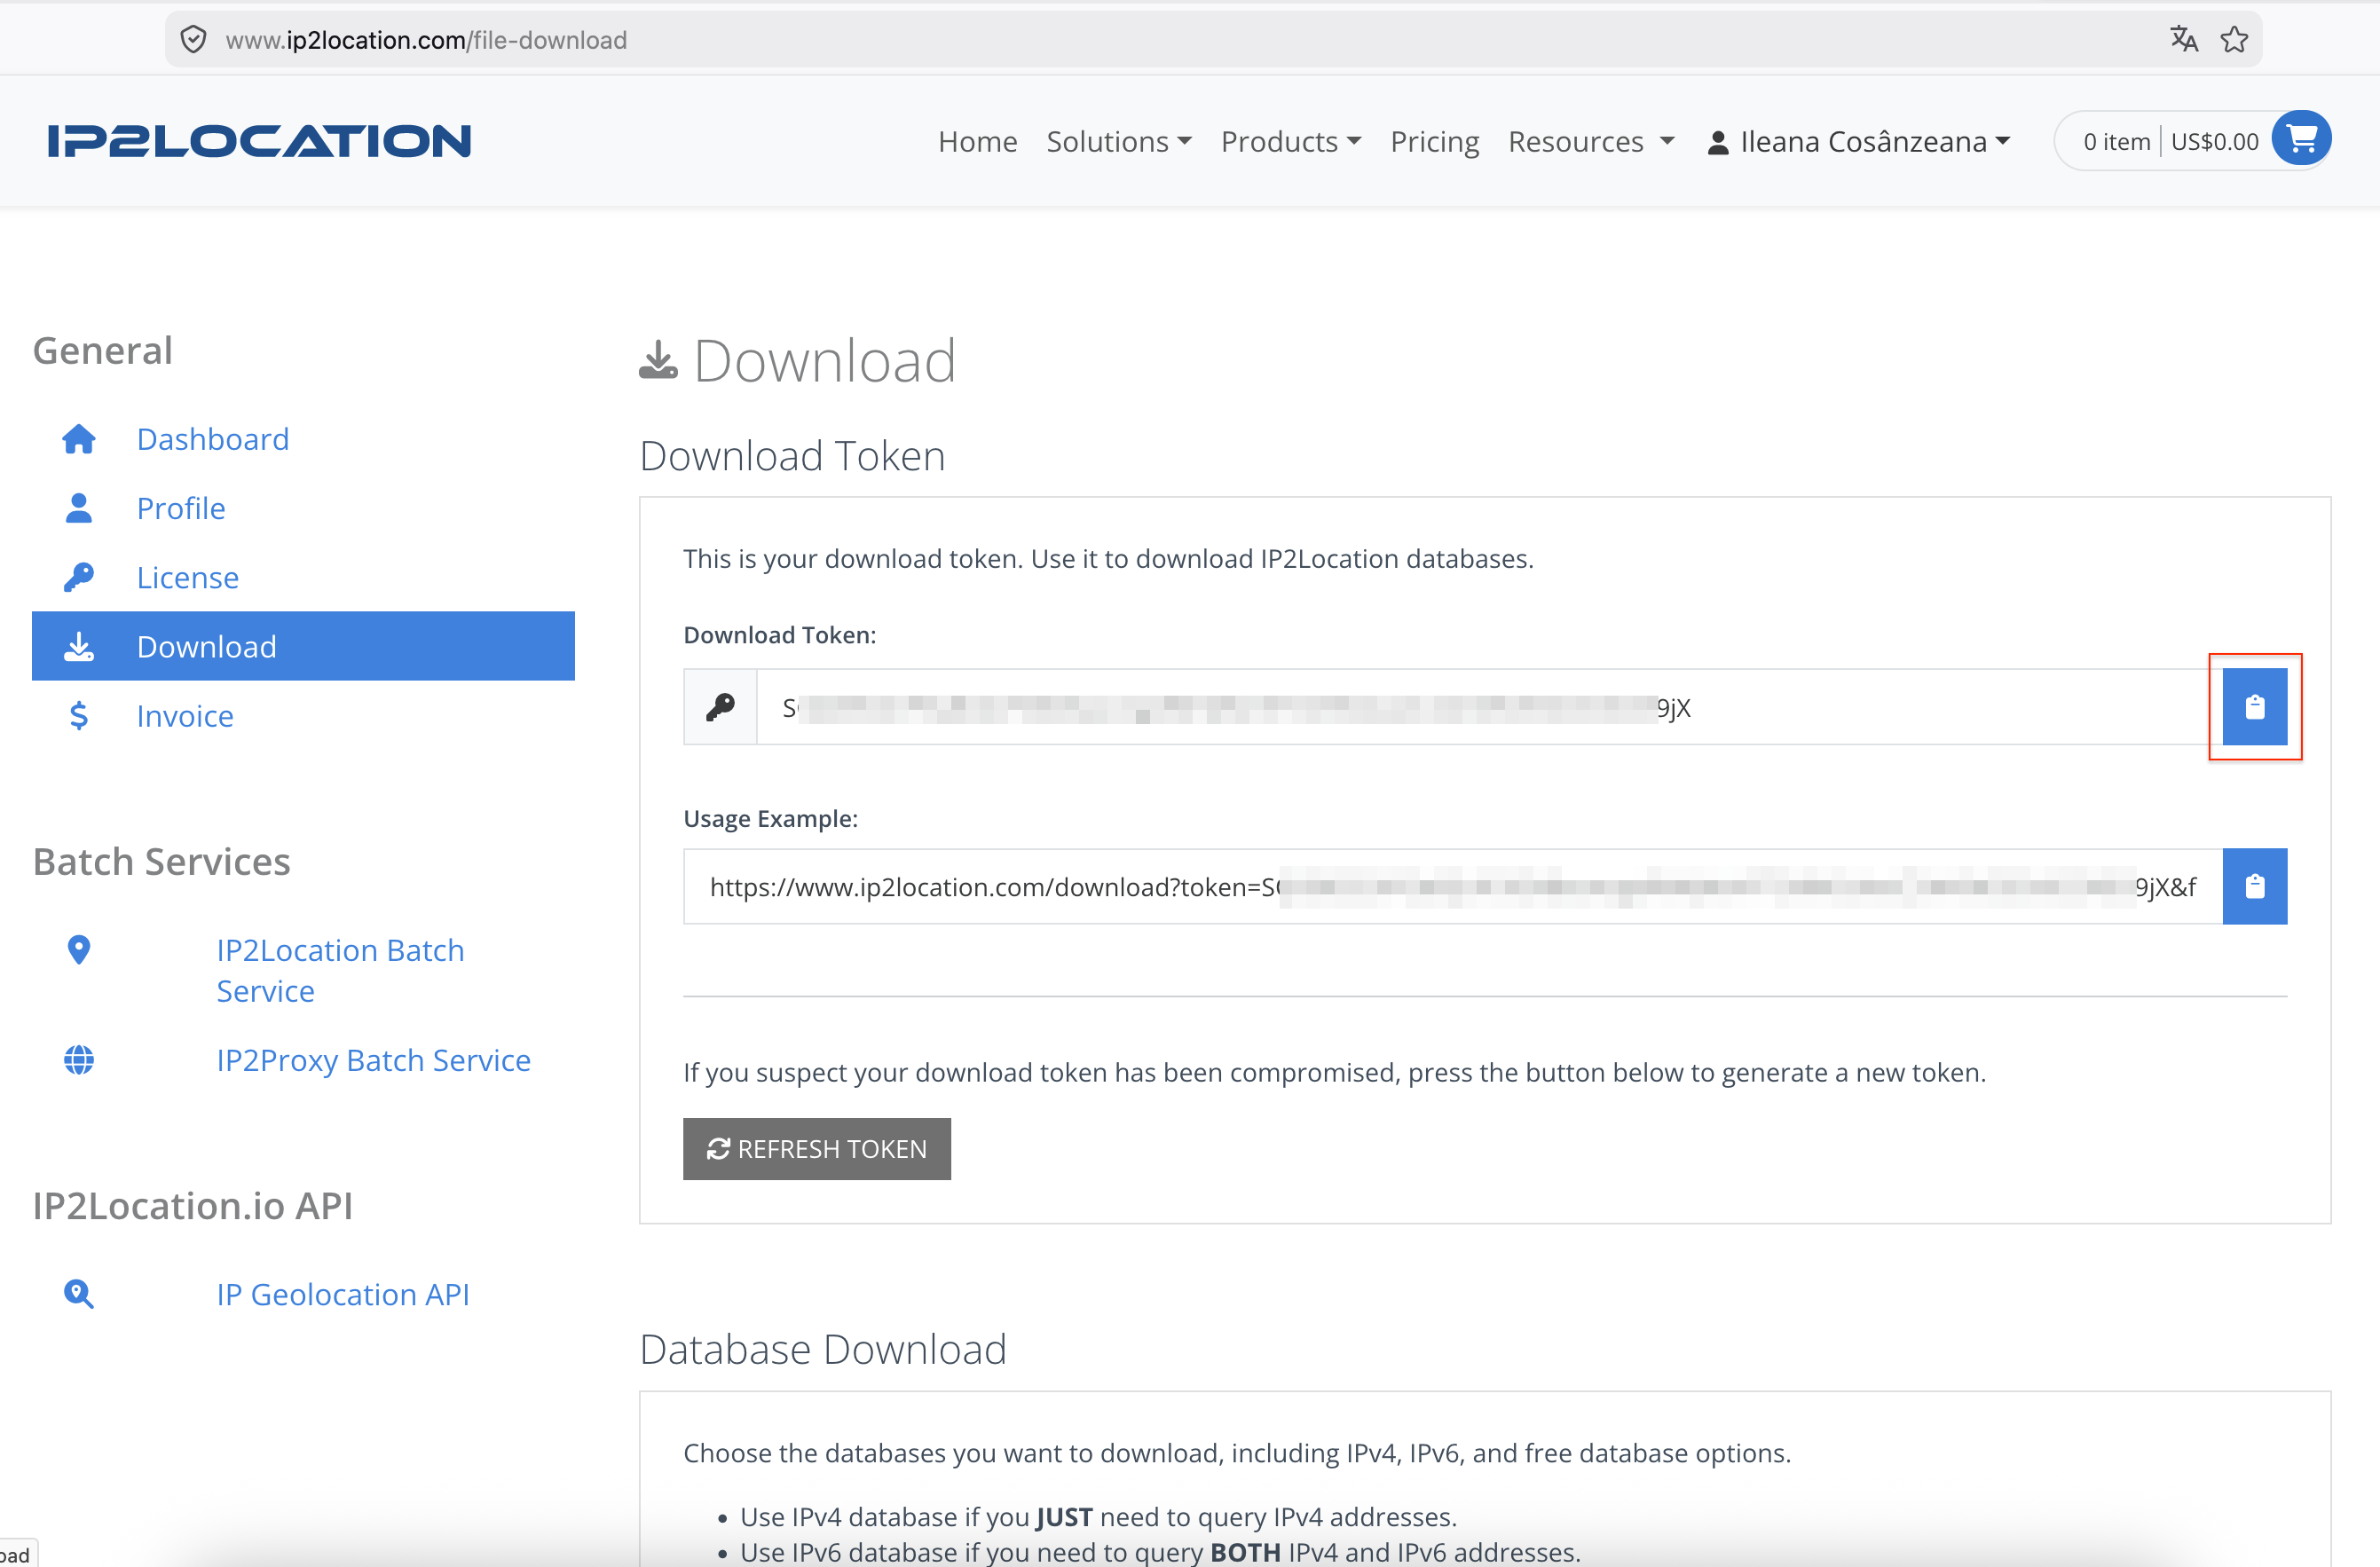
Copy the download token from the IP2Location account area.
-
Keep the token available. The installer asks for it during installation.
Buy VDS
Create a new VDS/VPS with Ubuntu 24.04 LTS x64.
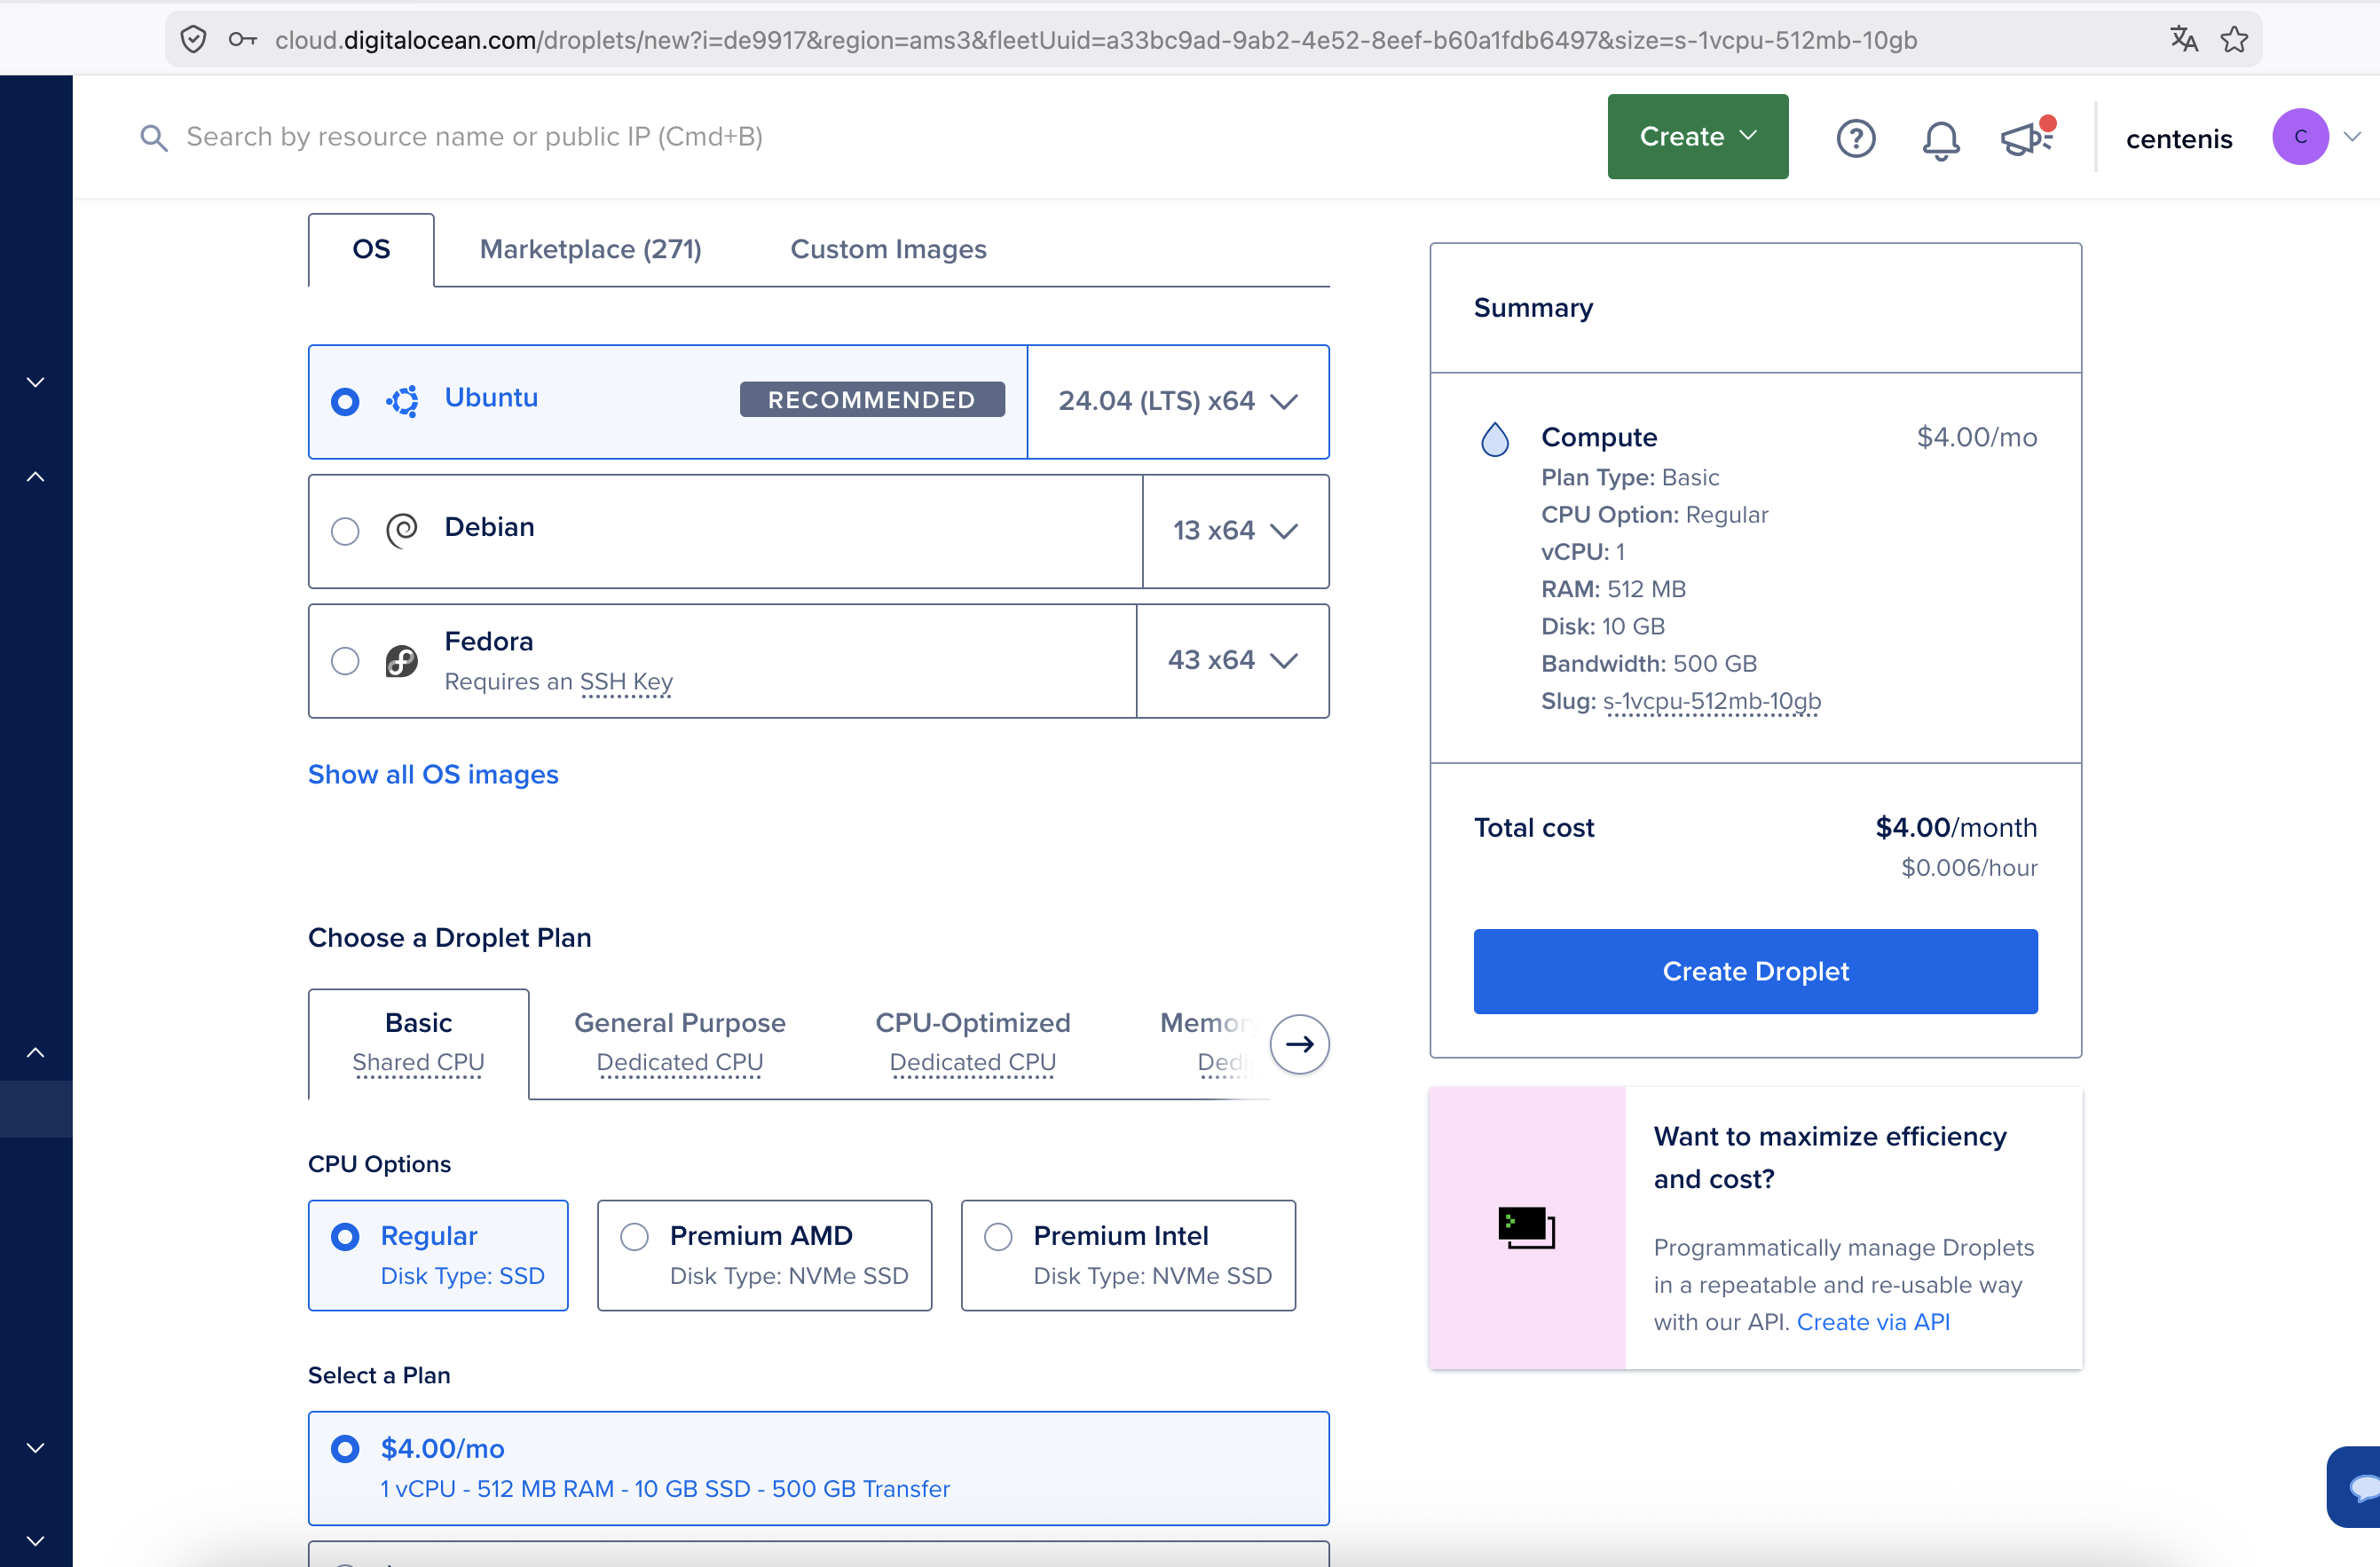
Use the following server settings:
| Setting | Value |
|---|---|
| Operating system | Ubuntu 24.04 LTS |
| Architecture | x64 |
| Access method | Password or SSH key |
Password access is enough for this tutorial. If you already use SSH keys, you can use key-based access instead.
After the server is created, connect to it as root:
ssh root@<server-ip>
Replace <server-ip> with the public IP address of your server.
Launch Installation
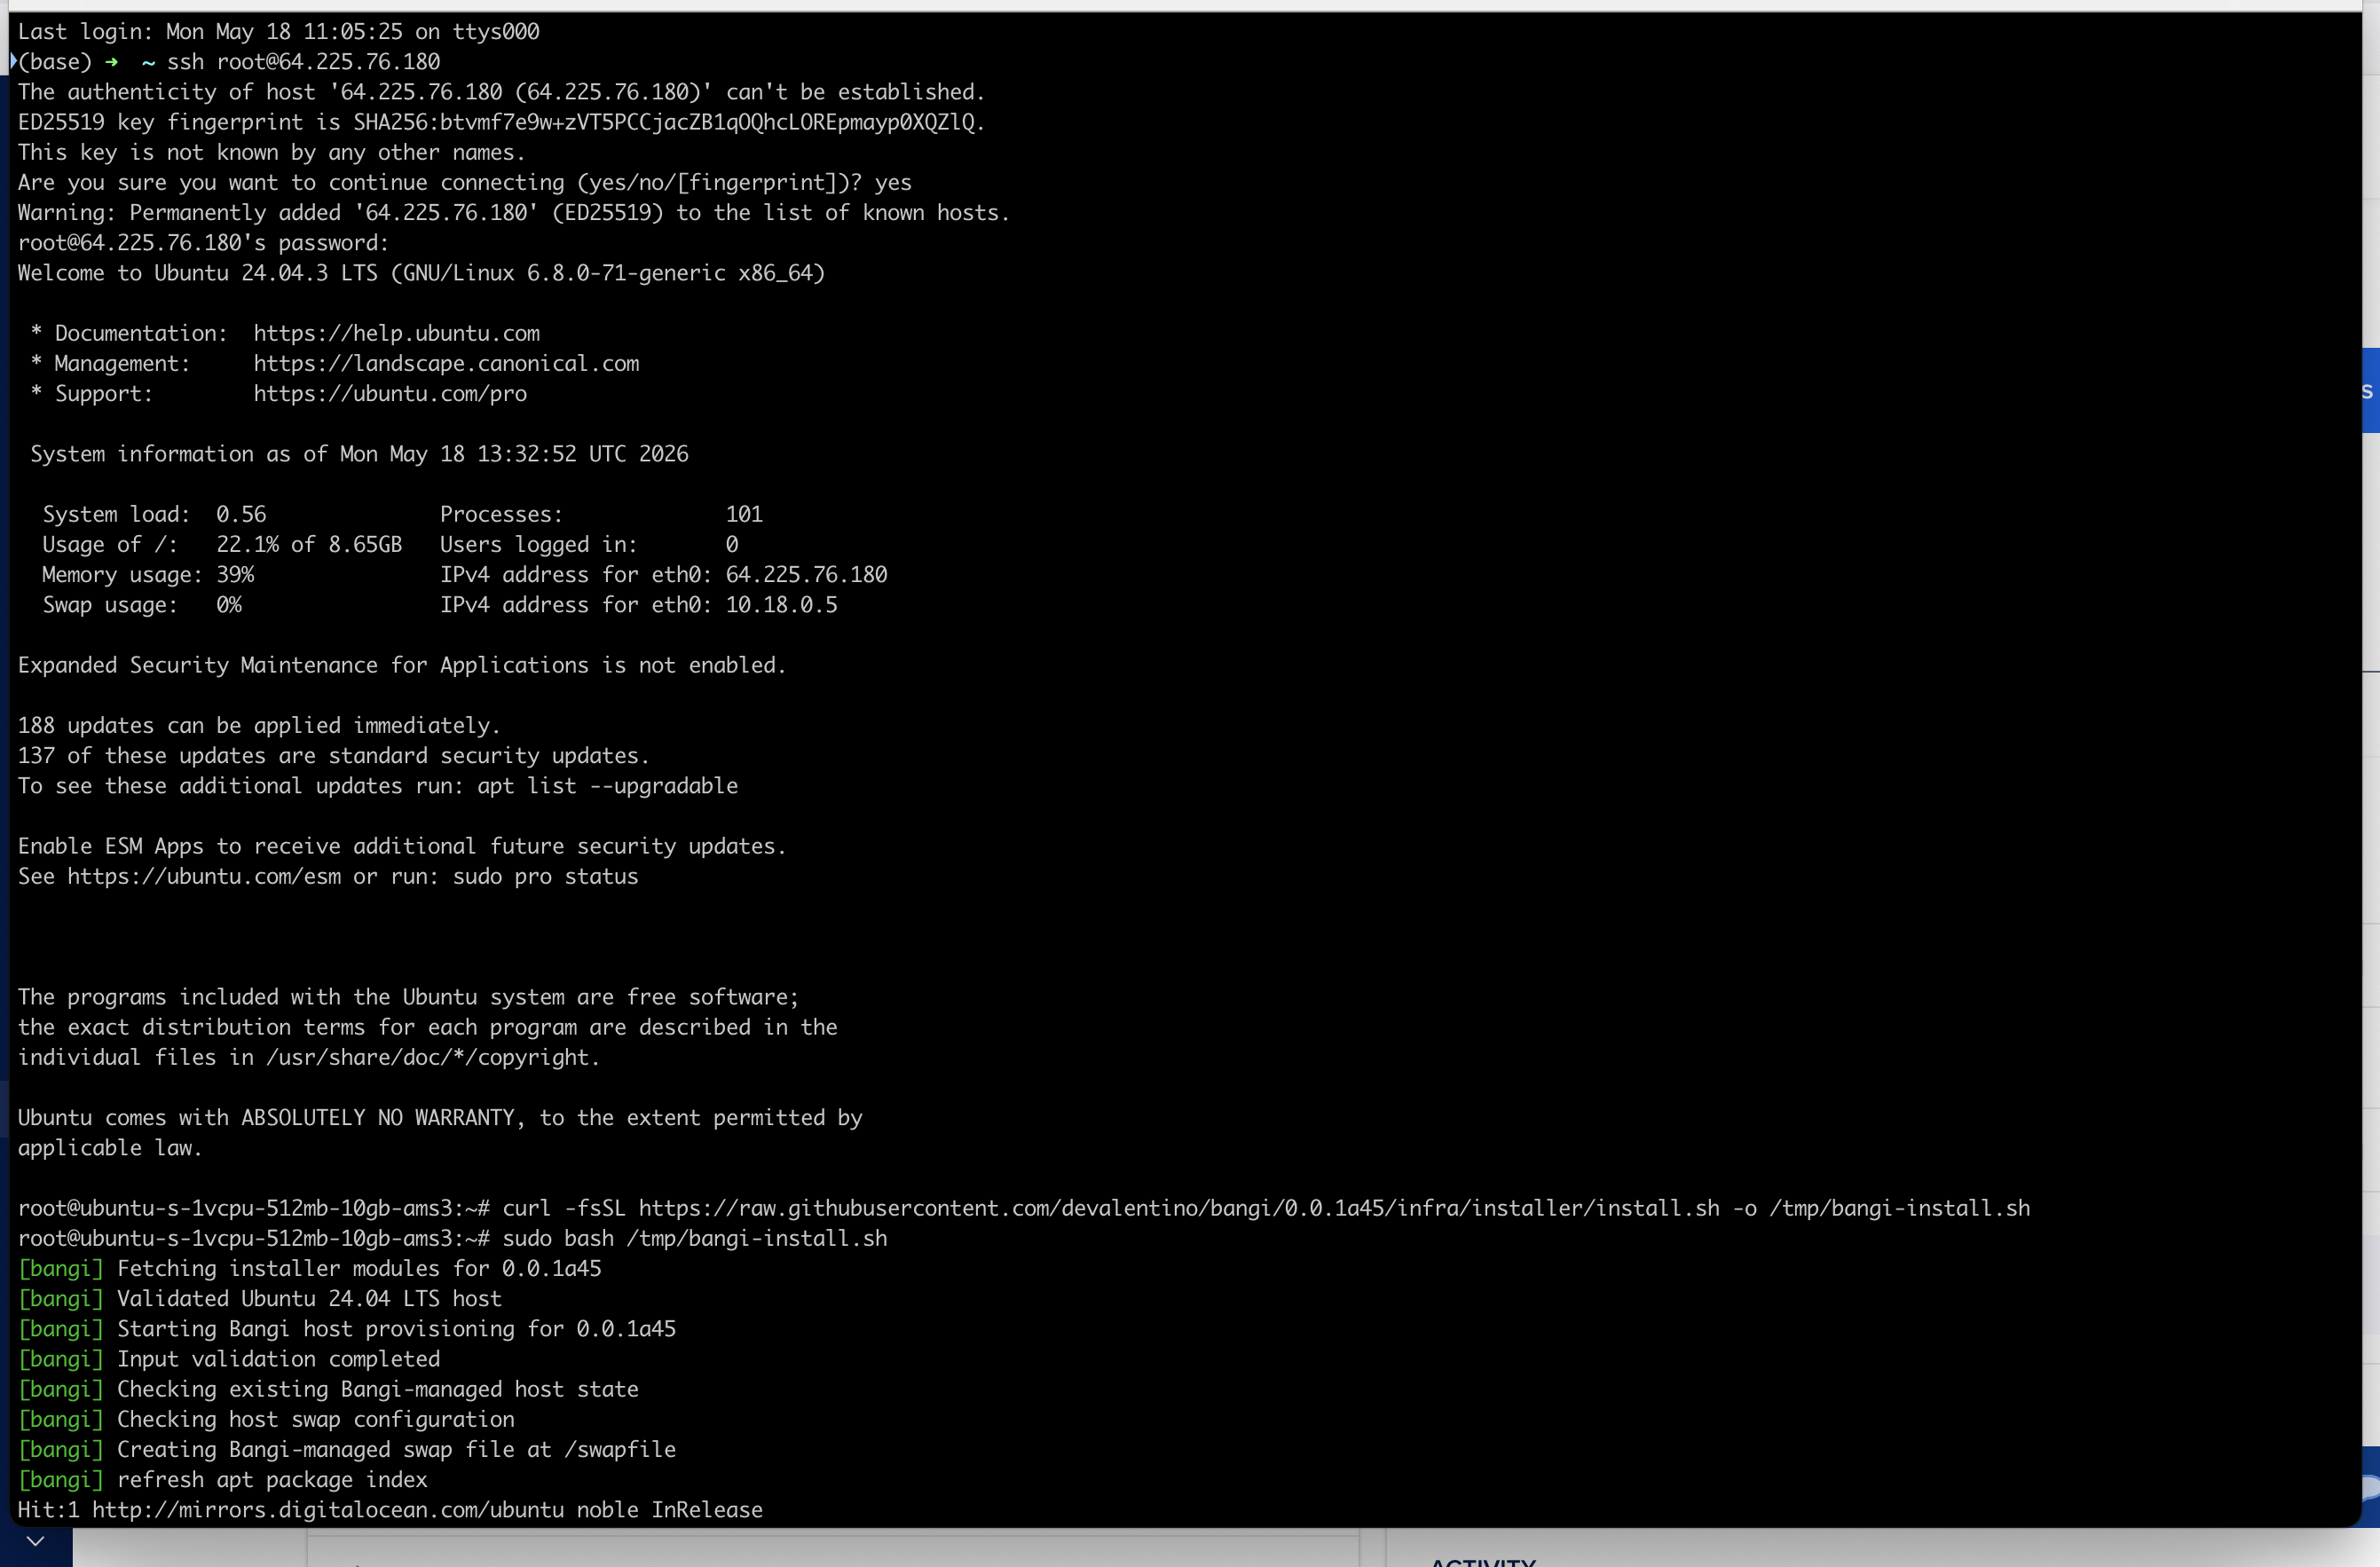
Run the following command on the server:
curl -fsSL https://raw.githubusercontent.com/devalentino/bangi/0.0.1b2/infra/installer/install.sh -o /tmp/bangi-install.sh && sudo bash /tmp/bangi-install.sh
The command downloads the pinned tracker installer and runs it with sudo.
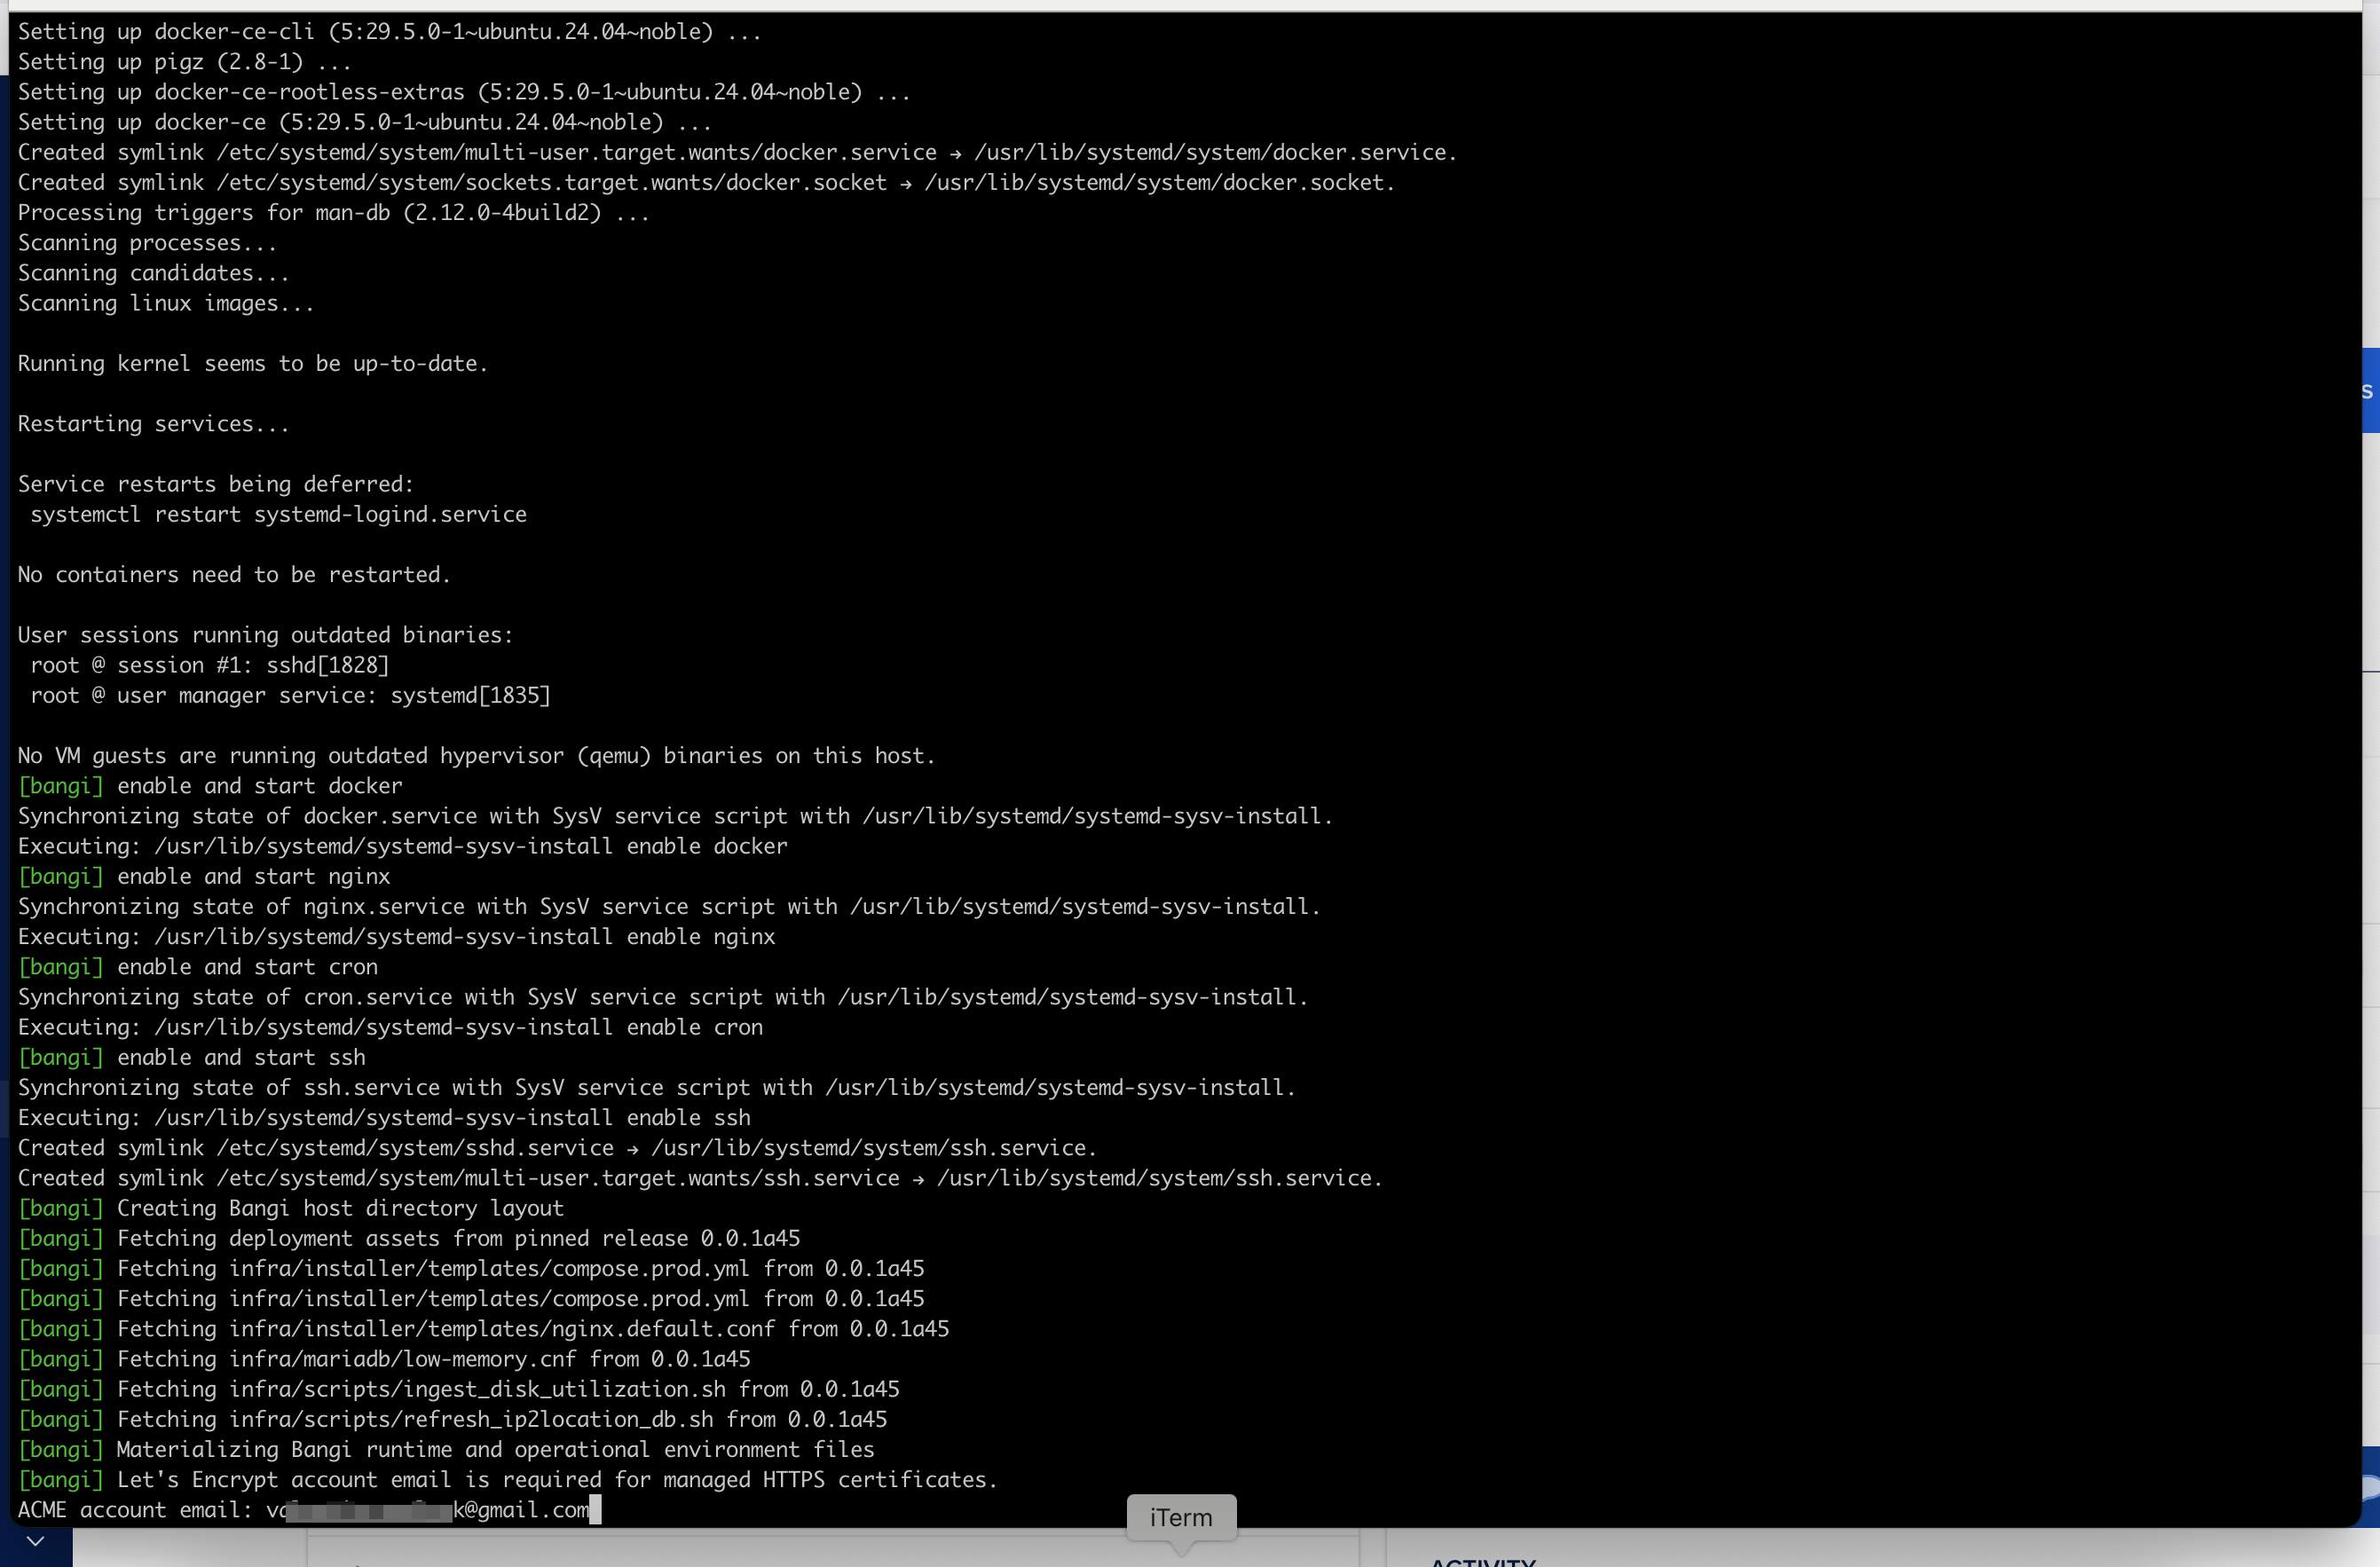
Let's Encrypt Email
During installation, the installer asks for a Let's Encrypt account email.
Let's Encrypt is a certificate authority that issues free HTTPS certificates. The tracker uses it to prepare certificate management for dashboard and campaign domains. Let's Encrypt can use the email address for important certificate and account notifications, such as expiry or policy notices. It does not send tracker marketing email.
Enter an email address that you can access.
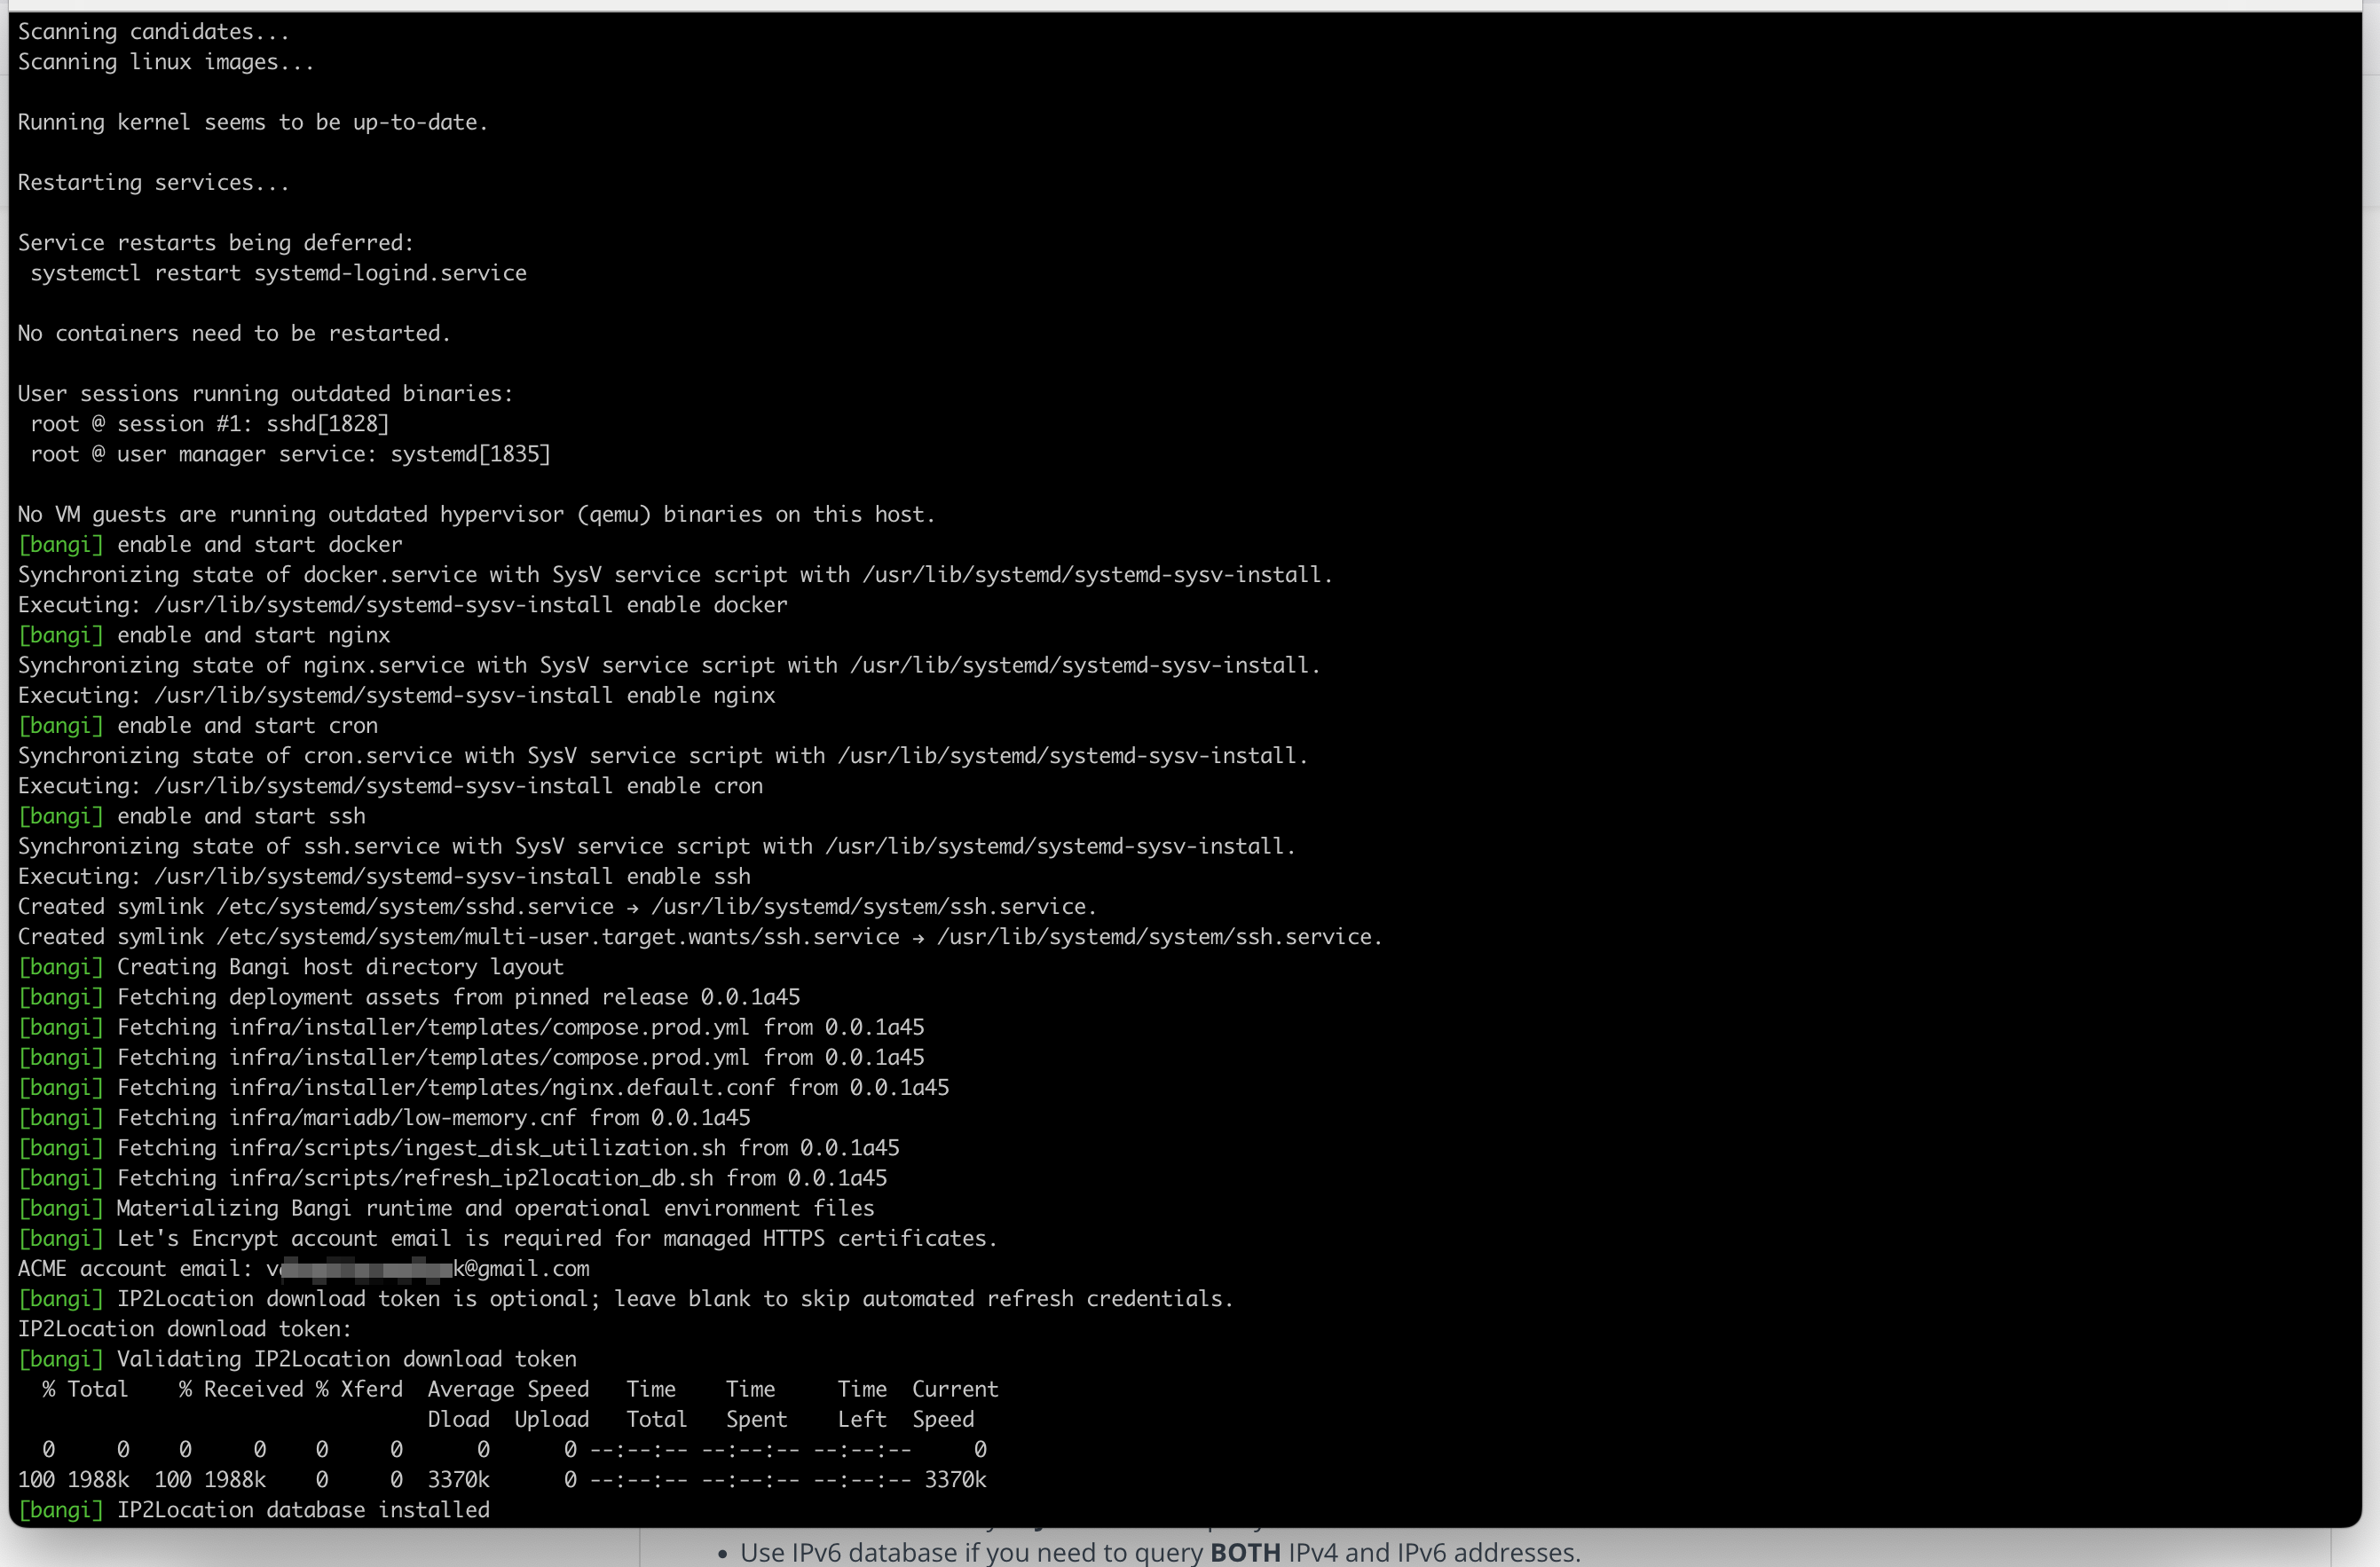
IP2Location Token
The installer asks for the IP2Location download token.
Paste the token copied from your IP2Location account.
After this step, the installer prepares the host, installs required packages, creates the tracker directory layout, starts application services, and verifies the installation.
Output
When installation finishes, the installer prints a summary with the dashboard sign-in details.
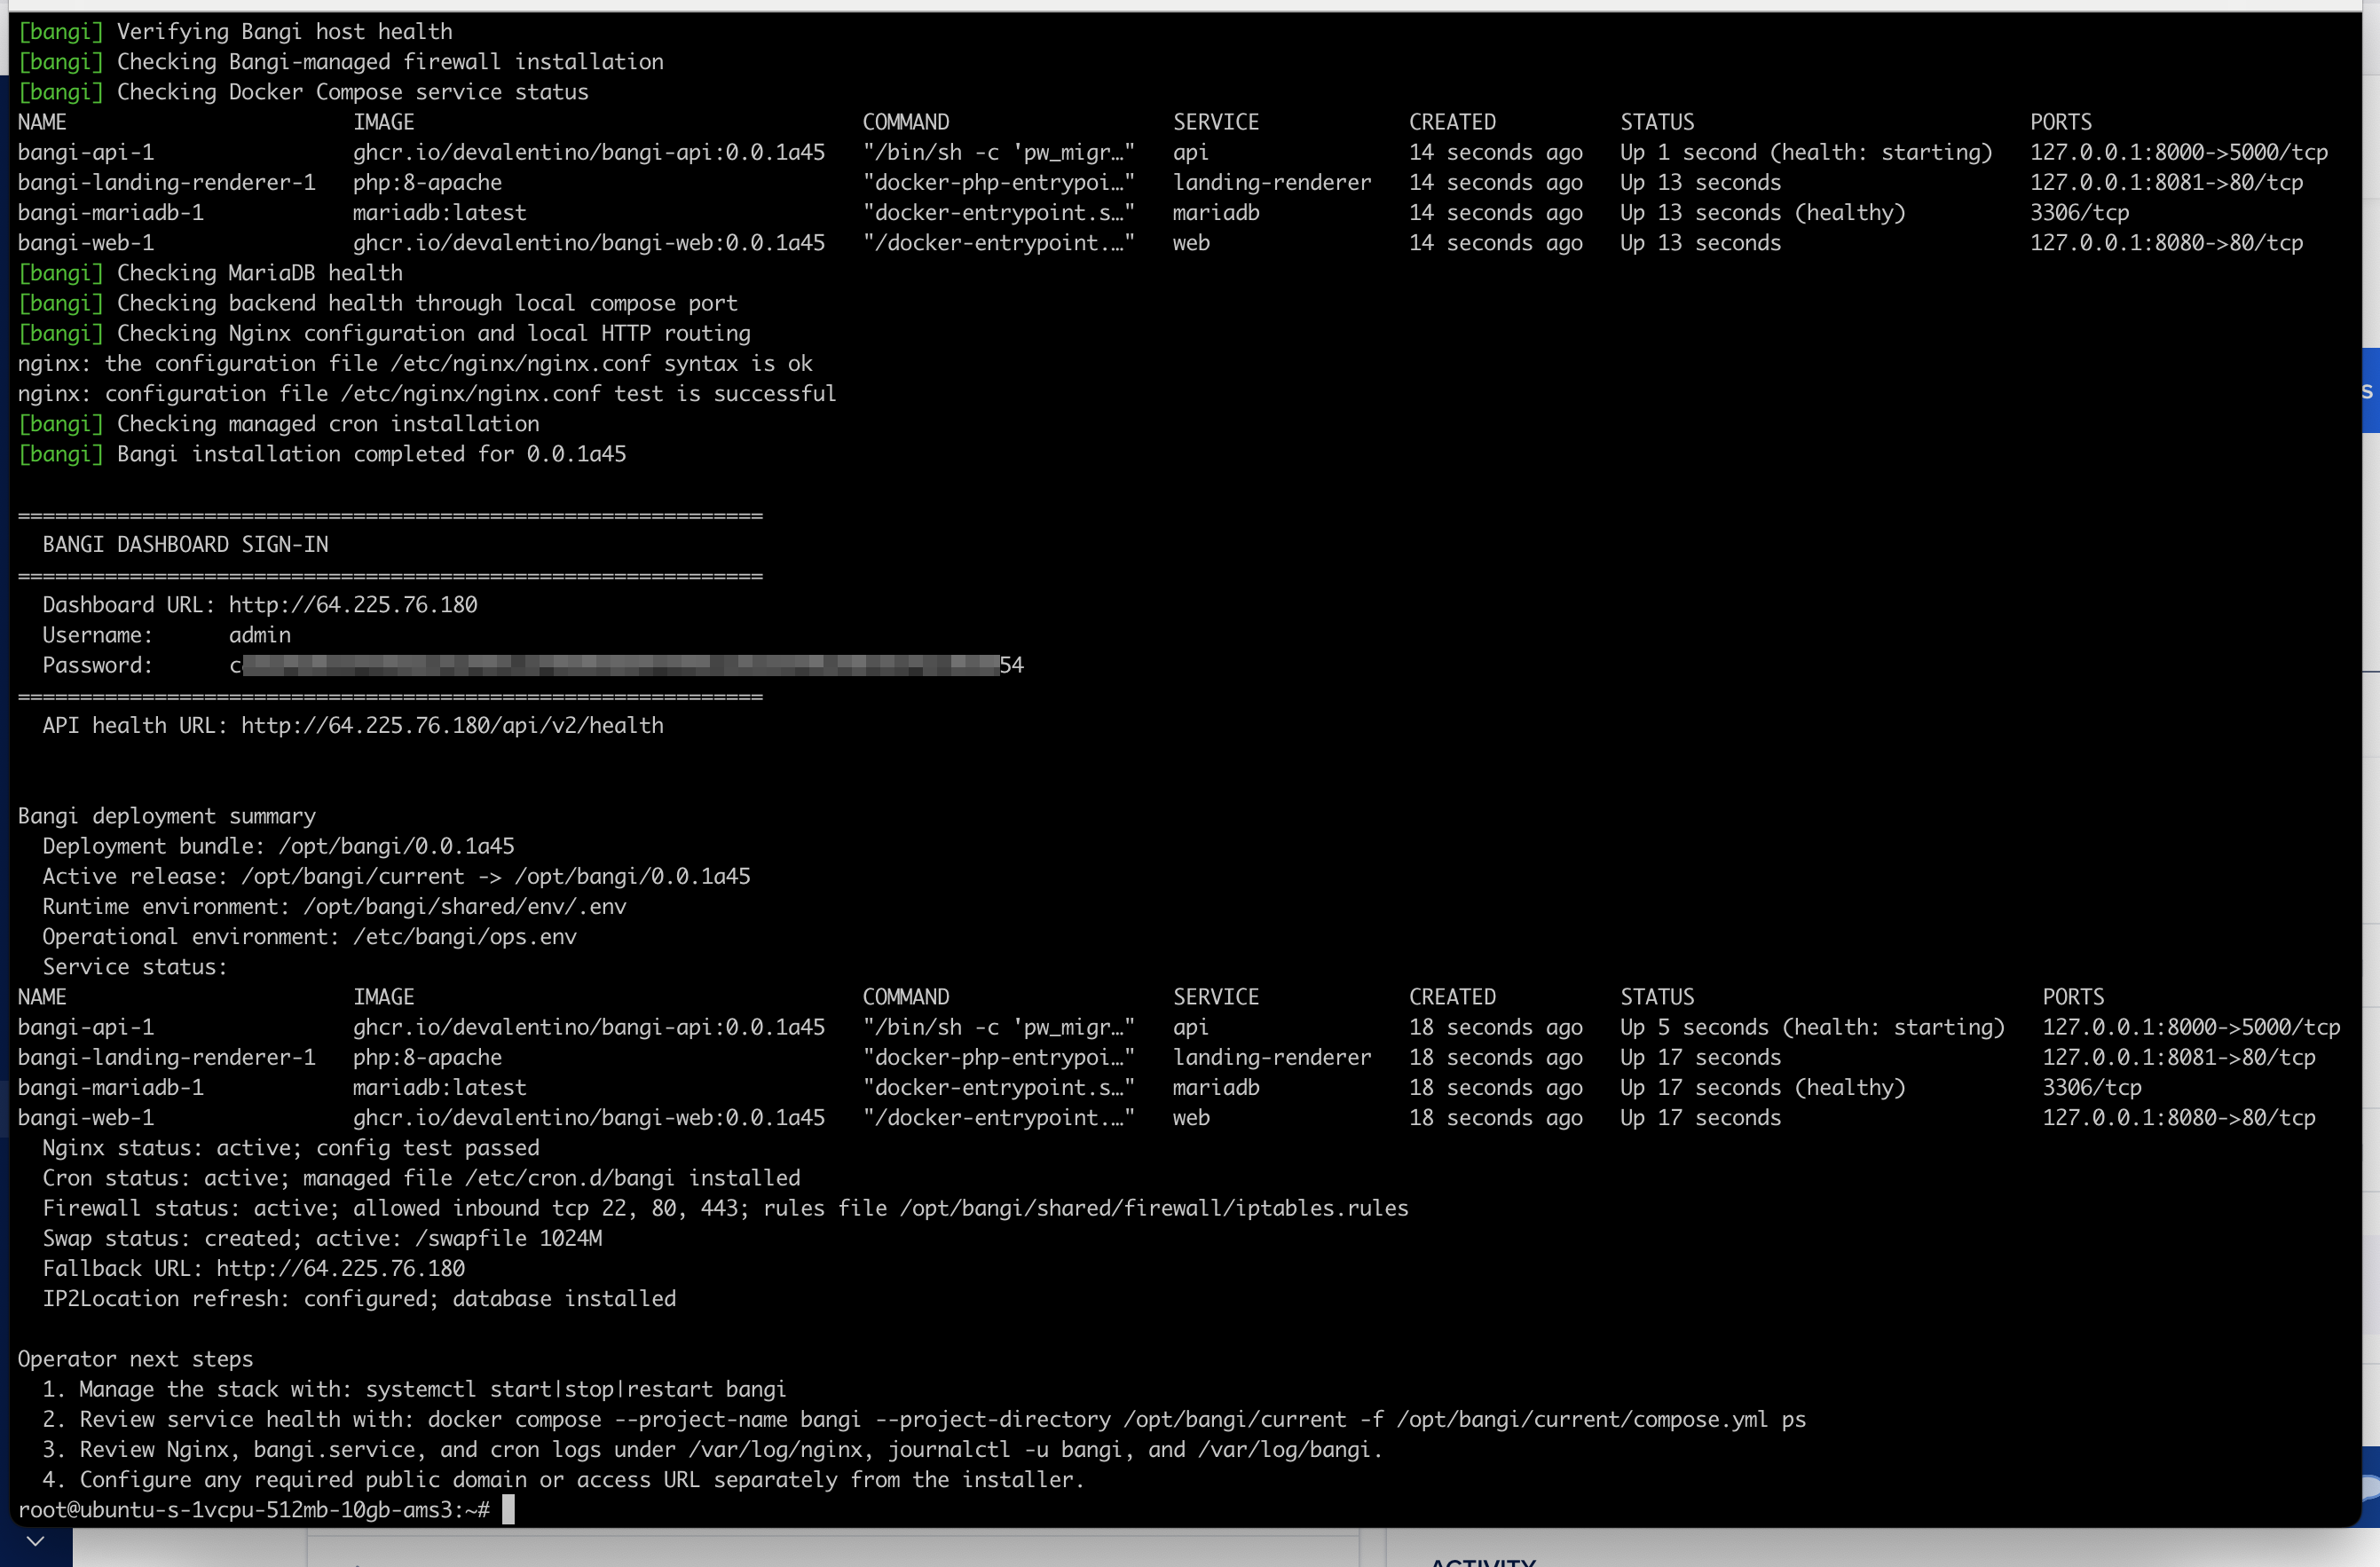
Save these values before closing the terminal. You will need them to open the dashboard and sign in after installation.
| Value | Purpose |
|---|---|
| Dashboard URL | URL for opening the dashboard |
| Username | Initial dashboard username |
| Password | Initial dashboard password |
| API health URL | URL for checking API availability |
The generated credentials are also stored on the server in the following file, but finding them later requires server access:
/opt/bangi/shared/env/.env
Open the dashboard URL in your browser and sign in with the printed username and password.
Useful Tools
Use these commands after installation to inspect and manage the application.
Service Status
sudo systemctl status bangi
This command shows whether the tracker system service is running.
Restart Tracker
sudo systemctl restart bangi
This command restarts the tracker application stack.
Service Logs
sudo journalctl -u bangi -f
This command follows logs from the tracker system service.
Container Status
sudo docker compose --project-name bangi --project-directory /opt/bangi/current -f /opt/bangi/current/compose.yml ps
This command shows the status of tracker containers.